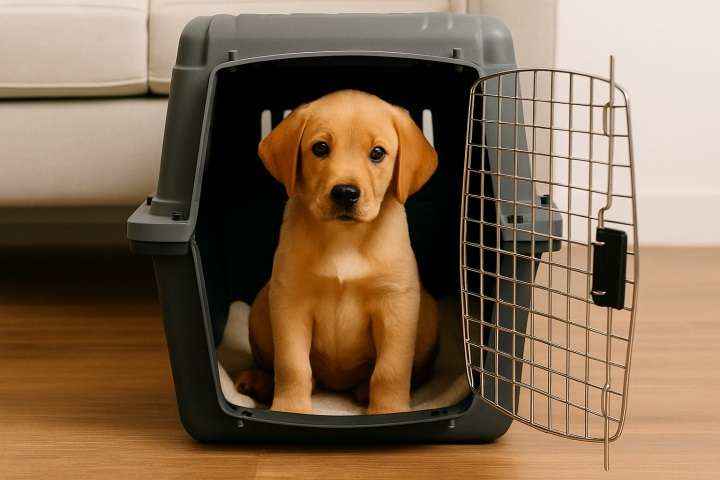
Crate training is one of the most valuable tools for raising a well-behaved, confident puppy. When used correctly, a crate isn’t a punishment—it becomes a safe, cozy space that helps with house training, prevents destructive behavior, and gives your puppy structure and security.
In this guide, you’ll learn exactly how to crate train your puppy step by step, how long it takes, and how to avoid common mistakes that could slow down the process.
Why Crate Training Works
A crate mimics a den-like environment, which dogs naturally seek for rest and comfort. It teaches boundaries while also giving your puppy a personal space to relax.
Benefits of crate training:
- Speeds up house training
- Prevents chewing and accidents when unsupervised
- Teaches calmness and independence
- Makes traveling and vet visits less stressful
- Helps with separation anxiety prevention
How to Choose the Right Crate
✅ Size: Your puppy should be able to stand up, turn around, and lie down comfortably—but not have extra space to potty.
✅ Type:
- Wire crate: Well-ventilated and collapsible
- Plastic crate: Cozy and more den-like
- Soft crate: Good for travel, not for chewers
Use a crate with a divider so it can grow with your puppy.
Step-by-Step Crate Training Plan
✅ Step 1: Make the Crate Inviting
- Place the crate in a quiet but not isolated area (like your bedroom or living room)
- Add soft bedding, a chew toy, and an item with your scent
- Leave the door open and let your puppy explore freely
- Toss treats inside to encourage interest
Goal: Build a positive association before closing the door.
✅ Step 2: Introduce Meals in the Crate
- Feed your puppy’s meals inside the crate
- Close the door gently while they eat
- Open the door right after they finish
- Gradually extend the time before opening the door
Why it works: Eating in the crate creates a sense of safety and normalcy.
✅ Step 3: Practice Short Crate Sessions
Start crate training while you’re home:
- Ask your puppy to enter the crate (use a treat or cue like “crate” or “bed”)
- Close the door for 1–5 minutes, then release and reward
- Slowly increase time over days, always rewarding calm behavior
Tip: Ignore whining unless you’re sure it’s not a potty need.
✅ Step 4: Use the Crate for Naps and Bedtime
- Place your puppy in the crate for regular nap times
- At night, keep the crate nearby so they feel safe
- Expect to wake up for potty breaks (especially under 12 weeks)
Crate = sleep zone helps your puppy settle into a routine.
✅ Step 5: Leave the House for Short Periods
Once your puppy is calm for 30–60 minutes while you’re home:
- Start leaving for 5–10 minutes, then extend the time
- Keep departures and arrivals low-key
- Offer a chew toy or frozen Kong as a distraction
Goal: Prevent separation stress and teach independence.
How Long Can a Puppy Stay in a Crate?
Puppy Age | Max Time in Crate (During Day) |
|---|---|
8–10 weeks | 30–60 minutes |
11–14 weeks | 1–3 hours |
15–16 weeks | 3–4 hours |
17+ weeks | 4–6 hours (with breaks) |
At night: Most puppies can hold it for longer, but expect 1–2 potty breaks.
Common Crate Training Mistakes to Avoid
- ❌ Using the crate for punishment
- ❌ Leaving your puppy in too long
- ❌ Rushing the process or skipping steps
- ❌ Ignoring signs of anxiety or distress
- ❌ Letting the puppy out while whining—this teaches them to cry for release
Be patient. Crate training takes consistency and gradual progress.
Tips for Success
- Always reward calm behavior in the crate
- Use the crate before your puppy is overtired or overstimulated
- Give your puppy enough exercise and play outside the crate
- Stick to a daily routine for potty, play, and sleep
Conclusion
Crate training is one of the best gifts you can give your puppy. With the right approach, it becomes a safe haven—not a cage. Done right, it builds independence, speeds up house training, and sets the stage for a calm, happy dog for life.
Need a printable crate training schedule or troubleshooting chart? Visit our Puppy Training Toolkit for resources you can use daily.

